Category: Pantry
🤔 What Are Home-Canned Green Beans?
Home-canned green beans are fresh green beans preserved in glass jars using home canning methods. This process involves packing beans in a brine and processing them under heat to create a shelf-stable product, but it requires strict adherence to safety protocols to prevent serious illness.
Quick Reference Card
| Condition | Ideal Storage | Duration |
|---|---|---|
| Unopened Home-Canned Beans | Pantry/Counter | 1 Year (for best quality) |
| Opened Home-Canned Beans | Refrigerator: 0-4°C (32-39°F) | 3-4 Days |
| Frozen | Not recommended | Not applicable |
The Triple-S Method
Master the three essential steps for food success:
🛒 Proper Canning: A Selection Guide for Safety
- MUST use a pressure canner: Boiling water canning is not safe for green beans.
- Follow tested recipes: Only use up-to-date recipes from trusted sources like the USDA or National Center for Home Food Preservation.
- Inspect every seal: Before storing, check that every jar has a proper vacuum seal and the lid does not flex.
Appearance
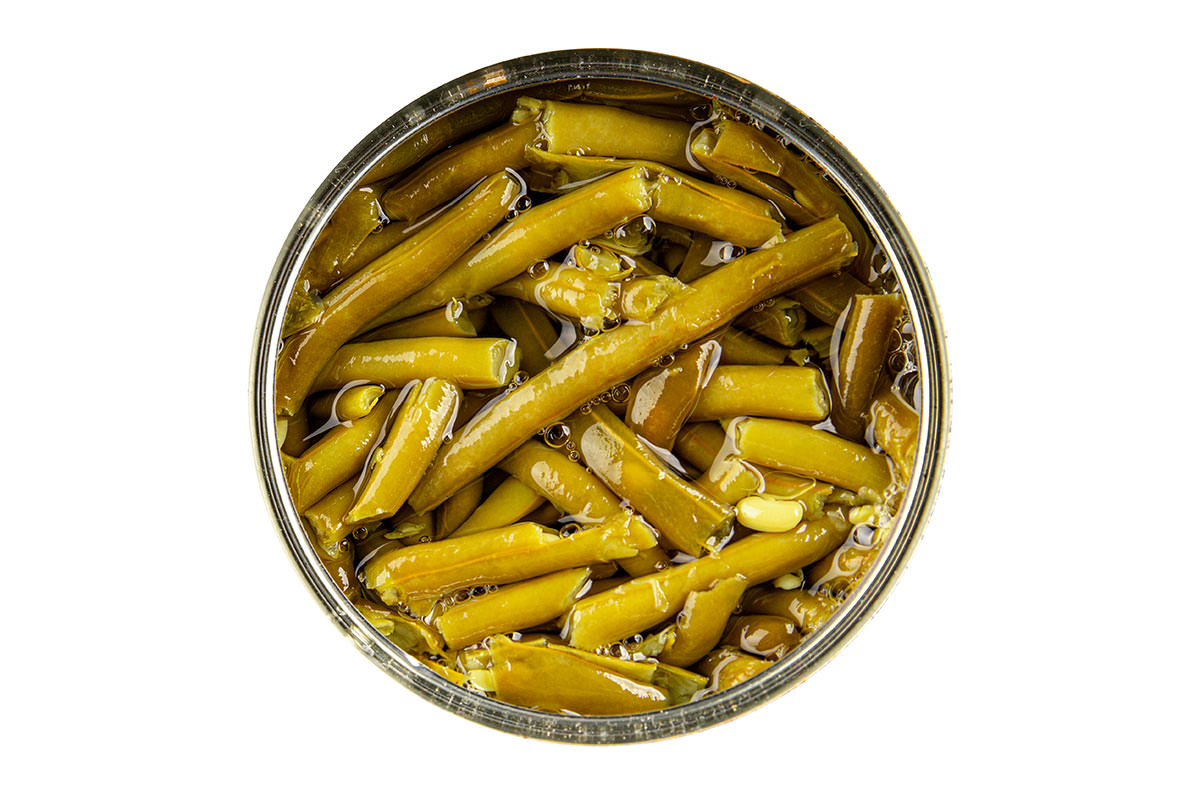
Properly canned green beans should have an olive-green color and be submerged in a clear brine. Brownish beans or cloudy liquid are signs of spoilage or processing errors.
Smell
A properly sealed jar should have no smell. Upon opening, it should smell like cooked green beans; any sour, foul, or unusual odor is a critical warning sign.
Texture
Home-canned green beans are typically softer than fresh but should still be firm enough to hold their shape. A mushy or slimy texture indicates spoilage.
Common Varieties / Types
Home canning allows for preserving any variety of green bean, from classic Blue Lake to slender Haricots Verts.
- Raw Pack: Fresh, raw beans are packed into jars, covered with hot brine, and then processed. This method often results in a firmer final product.
- Hot Pack: Beans are briefly boiled before being packed into jars with brine and processed. This method helps remove air from the beans and often results in a better quality product.
📅 Best Time for Canning
North America (USA/Canada)
The best time to can green beans is during their peak harvest season in the summer and early fall (July through September). This is when they are most abundant, affordable, and at their highest quality.
Europe
The peak season for fresh green beans is during the summer months, making this the ideal time for home canning.
Australia/New Zealand
In the Southern Hemisphere, the peak harvest for green beans runs from late spring through summer (November to February).
Tropical/Subtropical Regions
Green beans can often be grown year-round in these climates, allowing for multiple opportunities for canning.
❄ STORE FRESH: Storage Guide
- Unopened: Pantry for 1 year for best quality.
- Opened: Refrigerator for 3-4 days.
- Ideal Temperature: Cool, dark, and dry place; refrigerator at 0-4°C (32-39°F).
Storage Method Details
Pantry: Store properly sealed jars in a cool, dark, and dry place. The USDA recommends consuming home-canned goods within one year for optimal quality and safety.
Refrigerator: Once a jar is opened, the contents are perishable. According to the USDA, you must transfer leftovers to a non-metallic container, refrigerate, and consume within 3-4 days to prevent bacterial growth.
Pest Prevention
Ensure jars are clean and dry before storing. After opening, an airtight container in the refrigerator is essential to prevent cross-contamination.
Proper pressure canning creates a sterile, anaerobic environment. Once the seal is broken, the low-acid, moist beans become a prime target for spoilage organisms, requiring immediate refrigeration and quick use.
⚠ STAY SAFE: Food Safety Tips
- Safe Cooking Temp: 100°C (212°F) for 10 minutes
- Max Time at Room Temp: 2 Hours (once opened)
Understanding Food Safety Rules
The risk of botulism is the single most critical concern with home-canned green beans. According to the CDC and USDA, because green beans are a low-acid food, they MUST be processed in a pressure canner to reach temperatures high enough (above 116°C or 240°F) to kill *Clostridium botulinum* spores. A boiling water bath is NOT safe for green beans.
Reheating Methods
For maximum safety, all home-canned low-acid vegetables should be heated before consumption.
Microwave
Not the recommended method for the initial safety heating step.
Air Fryer
Not applicable for safety heating.
Oven/Toaster Oven
Not recommended for the initial safety heating step.
Stovetop
This is the required safety method. The CDC recommends boiling home-canned green beans in a saucepan for a full 10 minutes before tasting. This process will destroy any potential botulism toxin that may be present.
Date Labels Explained
Date labels on home-canned goods are applied by the canner. It is best practice to label jars with the contents and the date they were processed. The USDA recommends using home-canned foods within one year.
Allergen Information
- Contains: None of the top 9 allergens.
Allergen Handling & Prevention
Home-canned green beans typically only contain beans, water, and salt. There is no major allergen risk unless other ingredients were added during canning.
⚠ Special Safety Considerations
If a jar is unsealed, has a bulging lid, is leaking, or if the contents look or smell strange, do not taste it. The CDC provides specific instructions for safely detoxifying and disposing of potentially contaminated jars to prevent spreading spores.
🧊 Freezing & Thawing Guide
Freezing Effects & Preparation
Freezing home-canned green beans is not recommended. The texture is already very soft from the high-heat pressure canning process, and freezing will make them completely mushy and watery.
It is far better to can in jar sizes that are appropriate for your family’s needs to avoid having leftovers that cannot be properly stored.
Recommended Thawing Methods
As freezing is not recommended, there are no ideal thawing methods.
Not Recommended
Freezing and thawing home-canned green beans should be avoided to preserve what little texture remains after processing.
📊 Nutritional Information
Average values per 100g (approx. 3.5 oz) portion
- High in: Vitamin K
- Good source of: Fiber, Vitamin A
Home-Canned Green Beans (drained)
- Calories: 19 kcal
- Protein: 1.0g
- Fat: 0.1g
- Carbohydrates: 4.3g
- Fiber: 1.8g
Home-Canned Green Beans (no salt added, drained)
- Calories: 19 kcal
- Protein: 1.0g
- Fat: 0.1g
- Carbohydrates: 4.3g
- Fiber: 1.8g
Key Nutrients & Their Benefits
- Vitamin K: Plays an essential role in blood clotting and is important for bone health.
- Dietary Fiber: Supports digestive regularity and overall gut health.
- Vitamin A: Important for vision and immune function. The cooking process makes some nutrients in vegetables more bioavailable.
Nutritional data is an estimate. Consult with a nutritionist for personalized advice.
🌎 Sustainability & Sourcing
Home canning is a highly sustainable practice. It allows you to preserve a local or homegrown harvest at its peak, drastically reducing food waste, food miles, and packaging waste by using reusable glass jars.
It is a time-honored method of self-sufficiency and connecting with the food system.
🔄 Substitutions & Alternatives
Commercially canned green beans are a safer and more convenient alternative. Frozen green beans offer a much better texture and are an excellent choice for a quick vegetable side dish.
If you have an abundance of fresh green beans, blanching and freezing them is a much safer and easier preservation method than canning if you do not own a pressure canner.
🔪 Recommended Tools
A pressure canner (not a boiling water canner) is absolutely mandatory for safety. Other essential tools include canning jars, new lids, rings, a jar lifter, and a funnel.
💡 Pro Tips
♻ Waste Reduction
The tough, stringy ends trimmed from the green beans before canning are still useful. Save them in the freezer with other vegetable scraps to make a flavorful homemade vegetable stock.
❓ FAQ
A: Green beans are a low-acid food, and *Clostridium botulinum* spores can survive in boiling water (100°C / 212°F). According to the USDA, only a pressure canner, which reaches over 116°C (240°F), can safely kill these dangerous spores.
A: Yes. The CDC recommends this as a final safety precaution. Even in a properly sealed jar, if botulism spores were not killed, they can produce toxin. Boiling for 10 minutes will destroy this heat-sensitive toxin.
A: The contents are spoiled and potentially dangerous. Do not taste them. Follow proper disposal procedures from a trusted source like the CDC to decontaminate the food and jar before throwing it away.
A: No. For safety, you must always boil them for 10 minutes first. After this boiling step, you can then chill them for use in cold dishes.
A: After cooling for 24 hours, the lid should be concave (curved down in the center) and should not move or make a popping sound when pressed.
A: No. The sealing compound on flat canning lids is designed for a single use. You must use a new, fresh lid every time you can to ensure a safe seal. The screw bands, however, can be reused.
A: Cloudiness can be caused by minerals in the water, using salt with anti-caking agents, or starch from the beans. However, it can also be a sign of bacterial spoilage, so if it is accompanied by any other spoilage signs, the jar should be discarded.
A: The exact time and pressure depend on your altitude and whether you are using a dial-gauge or weighted-gauge canner. You must follow a tested recipe from a reliable source like the National Center for Home Food Preservation.
A: The CDC recommends detoxifying the contents before disposal. Place the jar in a pot of water, boil for 30 minutes to destroy any toxin, cool, and then discard.
A: When done correctly using modern, tested procedures and a pressure canner for low-acid foods, home canning is a safe and rewarding way to preserve food. The risk comes from using outdated or unsafe methods.