As parents, we work hard to keep our loved ones safe, but hidden dangers in the kitchen can cause anxiety. Did you know foodborne pathogens like Salmonella and Listeria often leave no visible signs?
Learning to read food safety indicators is your toolkit for beating these invisible threats. This Stay Safe guide simplifies the process so you’ll be more confident in the kitchen.
Table of Contents
The Foundation of Safety: Invisible vs. Visible Dangers
The most dangerous threats to food safety aren’t the ones you can see. Pathogens like Salmonella, Listeria, and E. coli are invisible microorganisms responsible for most foodborne illnesses.
These bacteria grow rapidly under the wrong conditions and can contaminate foods without altering their appearance, smell, or taste.
While this guide focuses largely on visible indicators, understanding the invisible dangers underscores why food safety rules exist.
For example, storing your refrigerator below 40°F prevents the growth of harmful bacteria. Similarly, adhering to expiration dates ensures food is consumed before contamination risks increase.
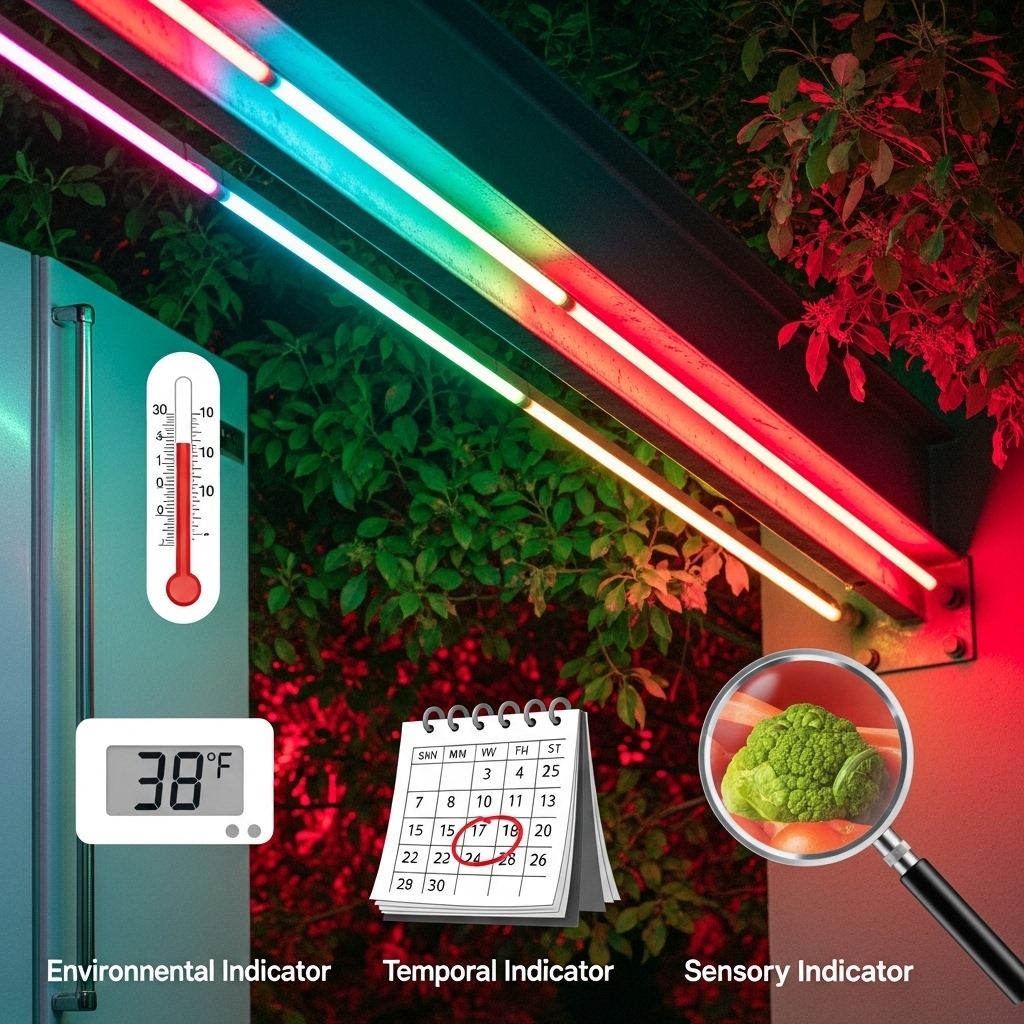
Parents need to know this: just because food looks fine doesn’t mean it’s safe. Mastering this system of environmental, temporal, and sensory controls helps bridge that knowledge gap, enabling you to prevent illnesses proactively.
Indicator Type 1: Environmental Controls Indicator Type 1: Environmental Controls
The Most Important Number: Your Food Safe Refrigerator Temperature
Your fridge must be at or below 40°F (4°C). Why? Harmful bacteria grow quickly between 40°F and 140°F (4.4°C and 60°C), otherwise known as the temperature danger zone.
If your fridge temperature creeps above 40°F (4°C), foods can spoil faster, and bacteria like Salmonella and Listeria can thrive.
- Place an appliance thermometer in your fridge and freezer.
- Adjust settings until the fridge holds steady below 40°F (4°C) and the freezer is at 0°F (–18°C).
- Quick Tip: Avoid overloading your fridge. Crowded shelves restrict airflow, causing uneven cooling and dangerous warm spots.
How to Properly Store Food in Fridge for Safety
In addition to temperature, organizing your fridge by zones helps prevent cross-contamination. This involves keeping raw foods (e.g., meats) separate from ready-to-eat foods (e.g., leftovers).
- Fridge Storage Zones:
- Top Shelves: Ready-to-eat foods like yogurt, leftovers, and salads.
- Middle Shelf: Dairy products (milk, cheese).
- Bottom Shelf: Raw meat, seafood, or poultry—these drip and must stay away from other foods.
- Crisper Drawers: Fruits in one drawer, vegetables in another.
- Why It Matters: Storing different foods in their respective zones ensures contamination doesn’t occur due to leaking juices or improper airflow.
Indicator Type 2: Temporal Controls (Time and Dates)
If environmental controls are the setup, time is the ticking clock. Perishable foods are highly time-sensitive, making close attention to dates and duration essential.
The Art of Tracking Expiration Dates
- Best By: Suggests peak quality, not safety. Foods are still safe after this date but may not taste as fresh.
- Sell By: Informs retailers about how long to display the product. Aim to use it within a few days of this date.
- Use By: Indicates the final date recommended for safe use. Follow strictly for safety.
- Pro Tip for Families: Use color-coded pantry labels to organize foods by expiration order. Older items stay up front, so they're used first.
The Clock is Ticking: Knowing When Leftovers Go Bad
- Label leftovers with their prepare date (sticky notes work great).
- Freeze anything you won't eat within 4 days to avoid waste.
Indicator Type 3: Sensory Controls (Sight, Smell, and Touch)
Your senses serve as your last line of defense against bad food. By knowing what to look for, you can detect unsafe foods before serving them—but always approach this step cautiously.
The Hierarchy of Senses: Eyes First
- Mold: Even on hard cheese, it’s safest to toss.
- Slime: A slippery coating on produce or cold cuts means microbial activity.
- Discoloration: Brown spots on lettuce or strange pink shades on cooked chicken are bad signs.
- Key Rule: “When in doubt, throw it out.”
Using Smell and Touch as Secondary Clues
- Waft the item, don’t sniff deeply; spoiled foods can release harmful gases.
- Beware of sour yogurt, rotten egg smells, or rancid oils.
- Meat: Should feel firm, not sticky or slimy.
- Bread: Any moisture or stickiness likely means mold inside.
The Final Rule: Safe Taste Testing Guidelines
Your Blueprint for a Confident, Safe Kitchen
When it comes to food safety, knowledge is power. By mastering this 3-step system of environmental, temporal, and sensory guidelines, you can confidently tackle kitchen safety.
This not only reduces waste and illness risks—it empowers you to protect your loved ones without fear or second-guessing. Remember, every small effort you make today builds a safer kitchen and a healthier future for your family.
Frequently Asked Questions
What are the indicators of food safety for consumers?
What are the microbiological indicators of food safety?
What are the chemical indicators of food safety?
What is more important: the expiration date or a bad smell?
Can I get sick from food that looks and smells fine?
What is the single most important environmental indicator in my kitchen?
How long do I have to put leftovers in the fridge after cooking?
Is it safe to just cut the mold off hard cheese?
What is the best way to prevent cross-contamination?
If my power goes out, what are the food safety indicators should I monitor in my fridge?
References
- Fight Bac! Foodborne Illness Prevention
- USDA Guide to Safe Food Temperatures
- CDC Food Safety Basics
- FDA Temperature Danger Zone
- Partnership for Food Safety Education: Safe Storage